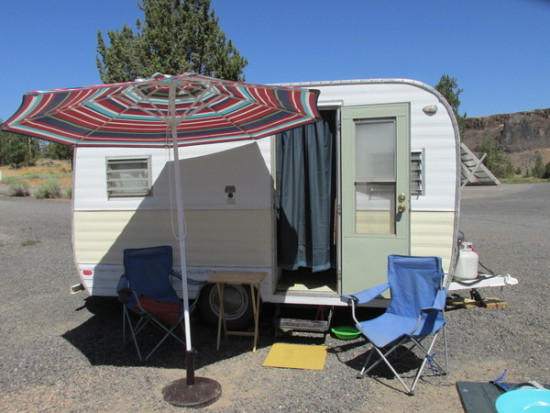
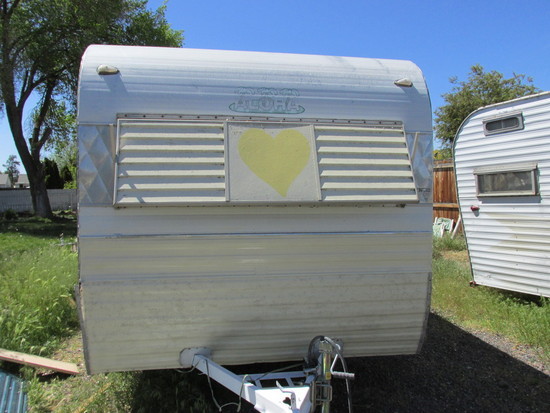
My little baby has gotten way spruced up and is looking cute – or shabby chic cute at least – rather than just plain ol’ shabby. Love my 1968 Aloha Vintage Travel Trailer.
First on the agenda after I began cleaning the inside (filthy, filthy, filthy – took weeks!) was to add some color and clean-up the outside. She was pretty dull and I wasn’t real big on the silver tone.
But how to paint, how to prep and what type of paint to use I had not a clue; Google & YouTube to the rescue.
The best info I got from this simple YouTube video: $50 Paint Job on My Shasta Camper. Watch the vid and it may be all you really need to know.
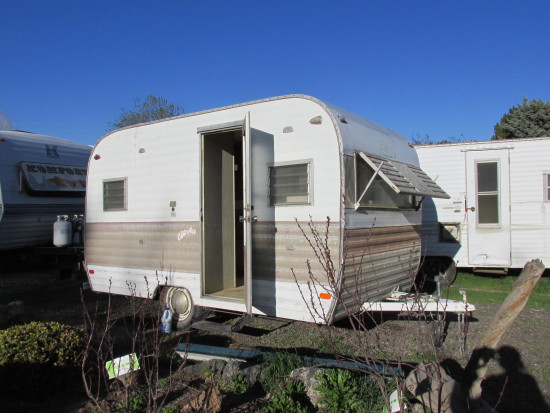
I simply cleaned with dish soap and water, let dry in the sun for a day, then applied the beige/yellow Rustoluem spray paint I purchased at WalMart as he shows in the vid. I used a roll of brown craft paper and blue tape to make sure I didn’t paint into the white.
Mine did not turn out as nice as his did… I misjudged the distance to hold the spray paint can from the trailer and got too close a few times which made it go on thick and then cause a dribble.
You don’t want to know how I fixed the dribbles (hint: they are still very visable to the naked eye), and if that happens to you and you are going for a more professional looking exterior you probably will have to sand/remove the paint, re-prep then re-apply.
Good thing I wasn’t going for fancy… just a cutened-up job. And I think she looks pretty cute!
I read so many things online that said you had to use spray paint for the camper rather than roll or brush it on, that I chose the above route.
But since then thanks to the great Facebook group “Glampers on the Loose” I have learned much more, and that all options will work and look great if done properly.
Many have used Valspar paint with good results, rolling or brushing it on.
When researching for my project, most of what I read online said that brushing paint onto the trailer doesn’t look good. I have now learned better!
Many folks use various types of paint and do amazing things to the outside of these babies… take a look at these:
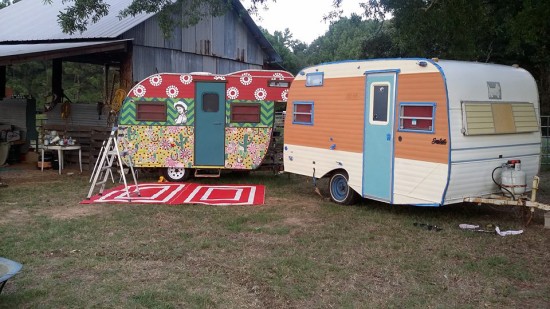
Adorable, no? The artist Angela Boone Leachmen uses Annie Sloan chalk paint for her vintage creations.
If you are not familiar with chalk paint, here is a great blog post with many types available, options for use and even how to make it yourself: All About Chalk Paint.
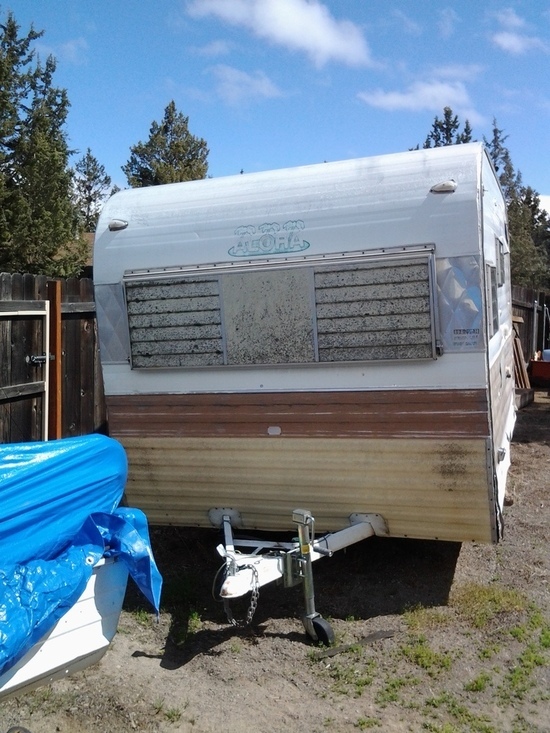
Look at the above photo… pretty nasty! The asbestos/plastic cover for the window I was grateful to have (many older trailers have these taken off) but the mold on it I was not fond of.
I scrubbed it with soap and water, then used a simple metal butter knife to scrape and scrape all the crap off. Then of course cleaned again. I wore a charcoal face mask and eye protection, as there were bits and pieces of the asbestos flying everywhere.
I scrubbed and scraped it down to just the polyurethene or whatever material that is and then painted that. Much, much better.
Then used the same Rustoleum spray paint as for the rest of the trailer, on the rest of the back.
I did not have this issue, but it is a common one so will mention. Nothing worse than starting a project and think you are doing everything right, then have it look like crap. Not fun.
If parts – or all – of your trailer after being spray painted look wrinkled (like air bubbles underneath or soggy wrapping paper) then read this for a variety of causes, and solutions on how to fix: What Causes Spray Paint to Wrinkle?.
Happy Painting!

Thanks for this…I began restoring my camper a couple years ago…I put the primer on it when I first started and will be finally painting it here within the next few weeks. When I put the primer on I used a roller(I wish I would’ve read this first). For the past 2 years I’ve had a 30 ft ugly camper sitting next to my house because of the roller marks. It is obvious(even from a distance) that I used a roller. Hopefully I can make it look at least half decent when I put the final paint job on it…the camper was free and had an ugly camo paint job when I got it so anything will look better than that or the primer that is on there now. But the tips an advice here are greatly appreciated.
I am sorry such a late reply Adam – I was in the middle of a hosting change for the site, could not reply then forgot!
I know – if I’d had that info (rather than just the YouTube video I used to get some know-how on how to paint mine) I probably would have done it differently, though turned out fine. Had no idea about the chalk paint thing and it seems to be a pretty popular way to paint.
Whatever route you take it will be fun, and for sure get on some facebook groups to share your pics and progress with. I had a lot of fun with the ‘Glampers on the Loose’ facebook group when I was fixing mine up.
Happy trails, Molly
Love all the tube videos on “how-to”, and the painting tips so helpful. My dilemma is in painting a picture on either side of my new vinyl side retro RV. I want someone with artistic skill to paint a cowgirl picture for me. How do I find, or do that? Any ideas?? Thanks!
Great idea – contact Angela Boone Leachman! She does custom design and is an amazing artist from what I’ve seen 🙂
https://www.facebook.com/angela.b.leachman – her Facebook page, leave some comments and send her a note!
Another great group to ask this question on (Angela was on it when I was a couple of years ago, not sure now) is the ‘Glampers on the Loose’ Facebook group – be sure to join, a lot of nice folks who share design ideas, etc.yy
Have fun! Molly